Make one of these for dinner, and one for a friend or to put into your freezer for later. This is our go-to meal when the hubby's out of town. He's not a big fan of Tuna Casserole, but me and the kiddos LOVE it!
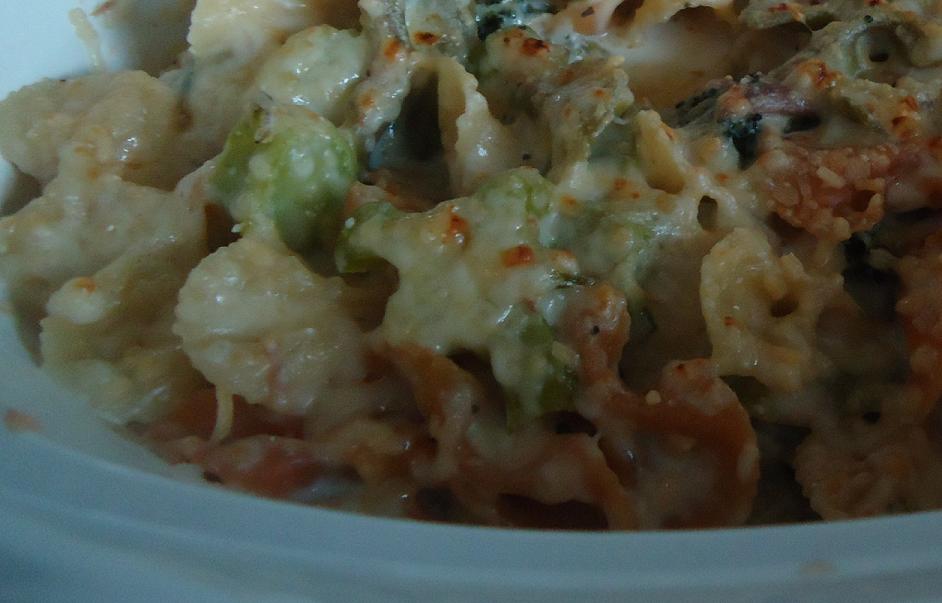
Broiled Tuna-Noodle Casserole
Coarse salt and ground pepper
1 pounds wide egg noodles or bowtie pasta
2 red bell peppers (ribs and seeds removed), thinly sliced
1/2 cup all-purpose flour
5 cups skim milk
4 cans (6 ounces each) tuna in olive oil, drained
1 medium zucchini, thinly sliced
1 lb broccoli, lightly steamed and chopped
1 bunch green onions, thinly sliced
1/2 cup finely grated Parmesan
Preheat oven to 400 F. Lightly oil two 8-inch square (or other shallow 2-quart) baking dishes. In a large pot of boiling salted water, cook noodles until 2 minutes short of al dente; drain, and return to pot. Meanwhile, in a 5-quart Dutch oven or heavy pot, heat oil over medium. Add bell peppers, broccoli and zucchini; season with salt and pepper. Cook until crisp-tender, 4 to 6 minutes. Add flour and cook, stirring, 1 minute. Gradually add milk, stirring until smooth. Cook, stirring occasionally, until mixture comes to a simmer.Remove from heat; add mixture to noodles in pot, along with tuna, and green onions. Season with salt and pepper, and toss. Divide between prepared baking dishes, and sprinkle with Parmesan. Bake until golden and bubbling, about 20 minutes or place under a HOT broiler for 5-7 minutes.
To freeze: Prepare above recipe with the exception of baking; cool to room temperature. Cover tightly with aluminum foil, and freeze up to three months.
To bake from frozen: Preheat oven to 400 degrees. Bake, covered with foil, until center is warm, about 2 hours. Uncover, and bake until top is browned, about 20 minutes more.
To bake from thawed:Thaw overnight in refrigerator. Preheat oven to 400 degrees and bake, covered with foil, until center is warm, about 30 minutes. Uncover, and bake until top is browned, about 20 minutes more.
1/3 cup olive oil, plus more for baking dishes


